 Save as PDF
14.B. Accountability: How to Create SLOs
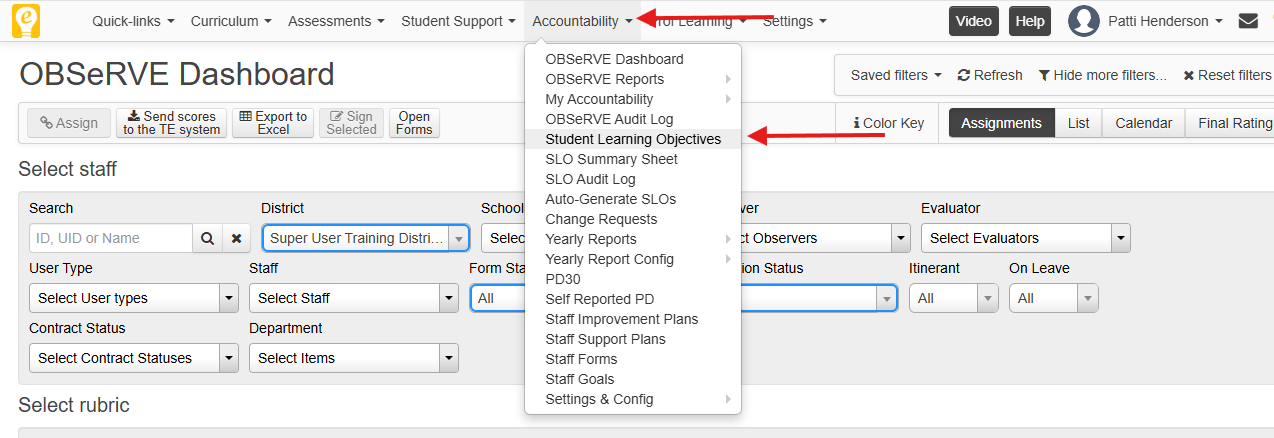
Select the SLOs button from the home page OR select Student Learning Objectives from the Accountability Menu.
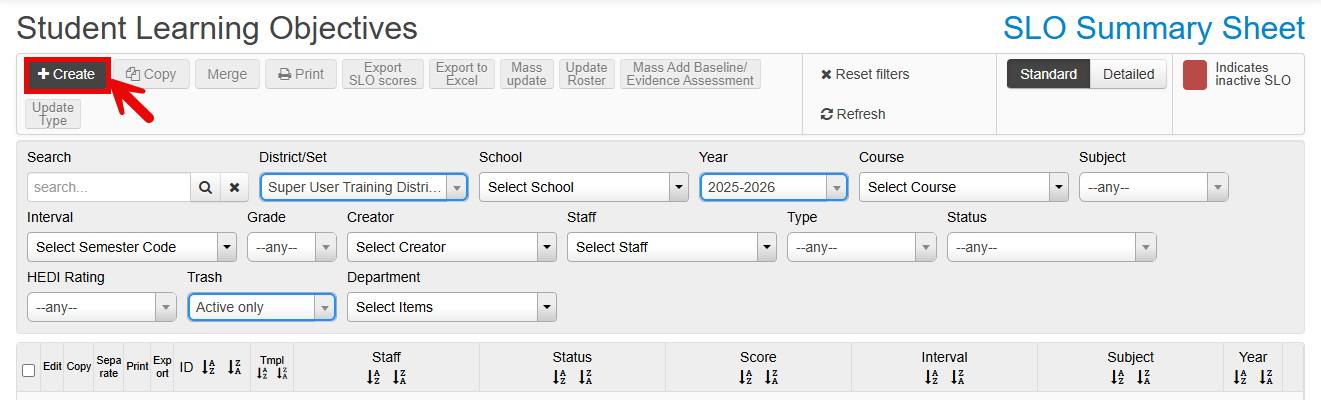
Click on the + Create button to create a new SLO.
This will open the SLO Editor.
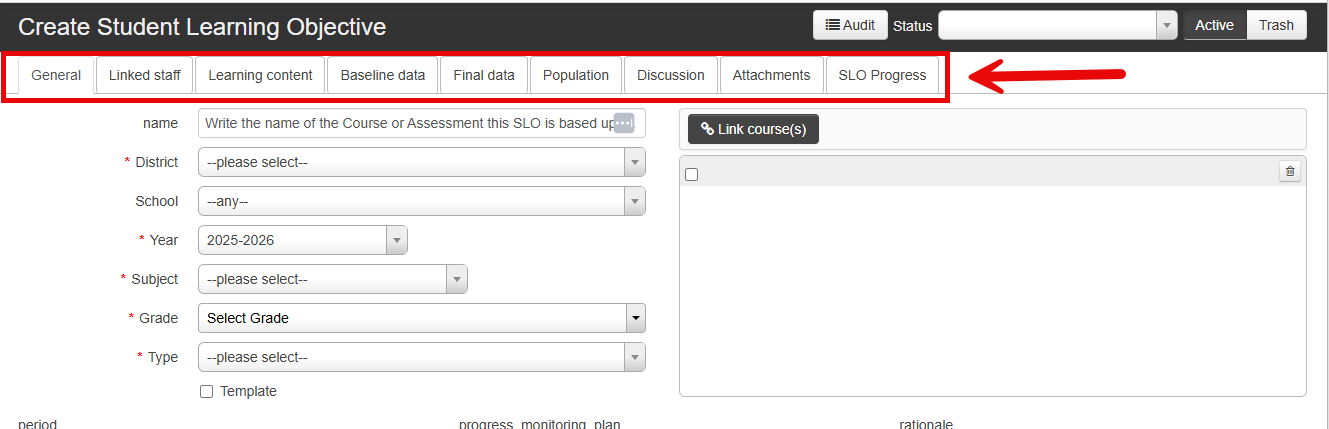
Click on a tab (General, Learning Content, Baseline data, etc.) to jump to that section of the SLO Editor.
Take note that the SLO ID # will not be assigned until this SLO has been saved. Once assigned, it is a good idea to record this number for your records. Searching for an SLO using this ID # proves to be the fastest way to locate elements in eDoctrina.
General Information Section
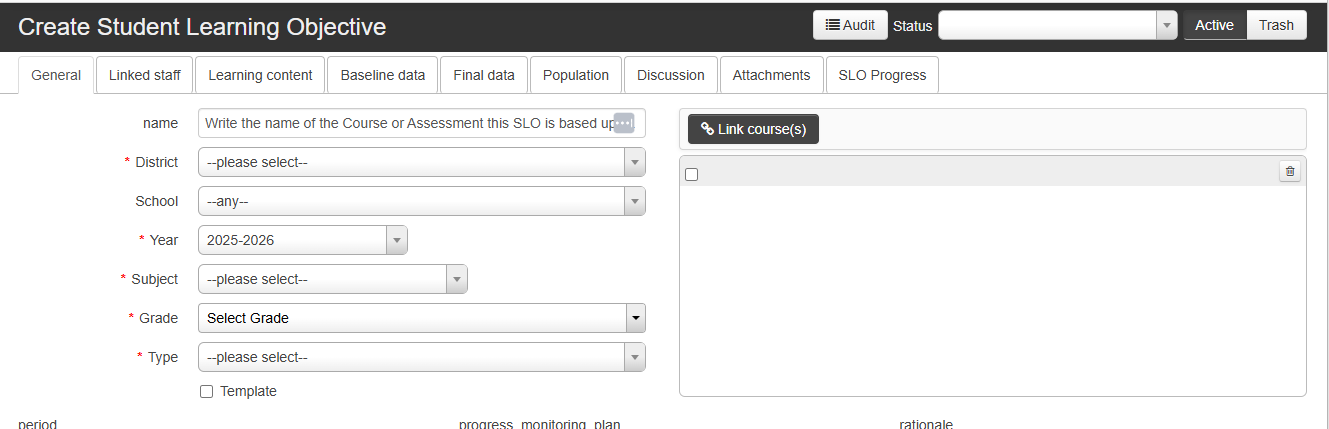
Provide this SLO with an appropriate Title and enter the information requested. Fields labeled with a red asterisk (*) are REQUIRED. NOTE: The template option is controlled from the SLO homescreen.
Linked Staff Section
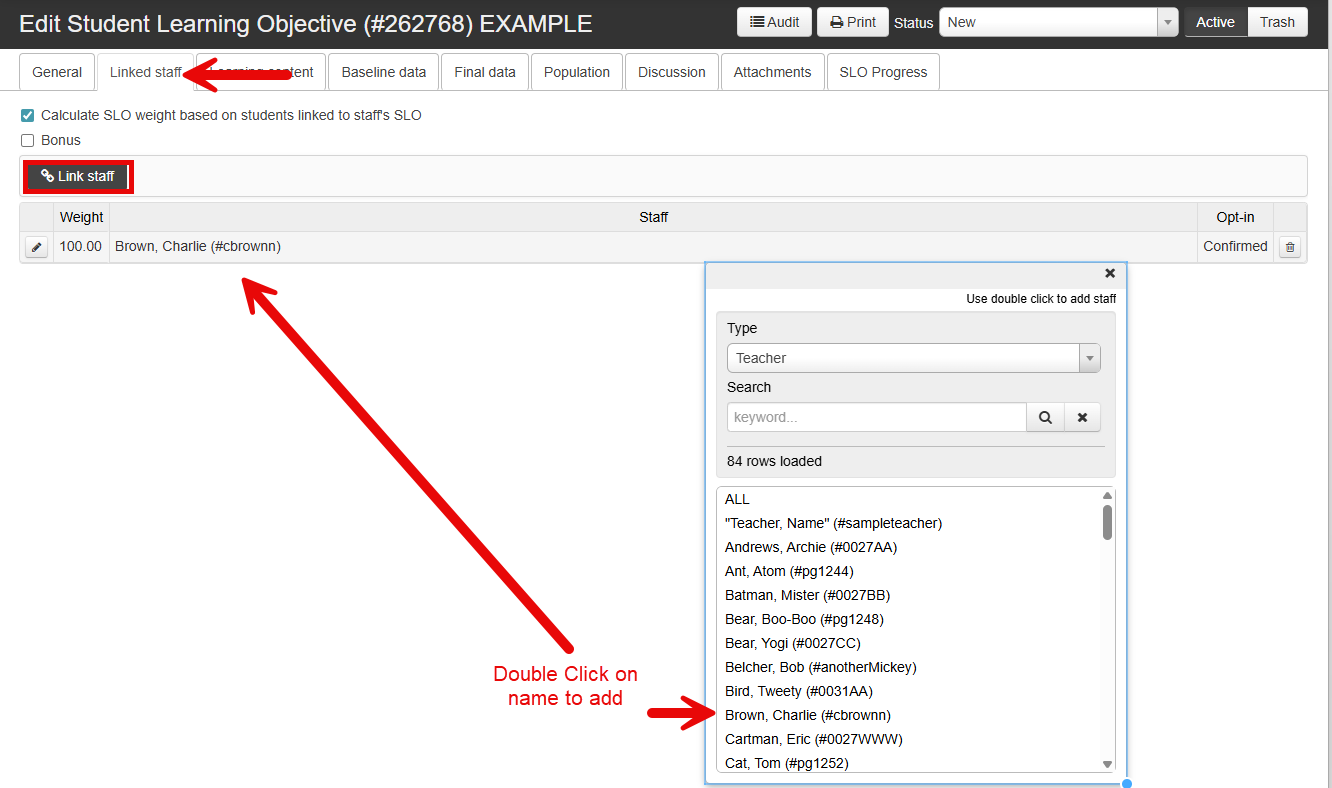
Click on the Linked Staff tab, then click the link to load staff members. To search for a specific staff member, use the filters to select the user Type or use the search box to type in a first/last name. To link staff to this SLO, double click on the staff member name in the list If eDoctrina is going to be weighting each SLO connected to the staff member(s) linked to this SLO then the weight box should be left as 100, which is the default. Check to make sure the "Calculate SLO weight based on students linked to teacher's SLO checkbox is selected (this should automatically be selected as a default). As long as the "Calculate SLO weight..." checkbox is checked, the program will take care of weighting each SLO correctly for the Teacher Evaluation Summary Report.
Learning Content Section
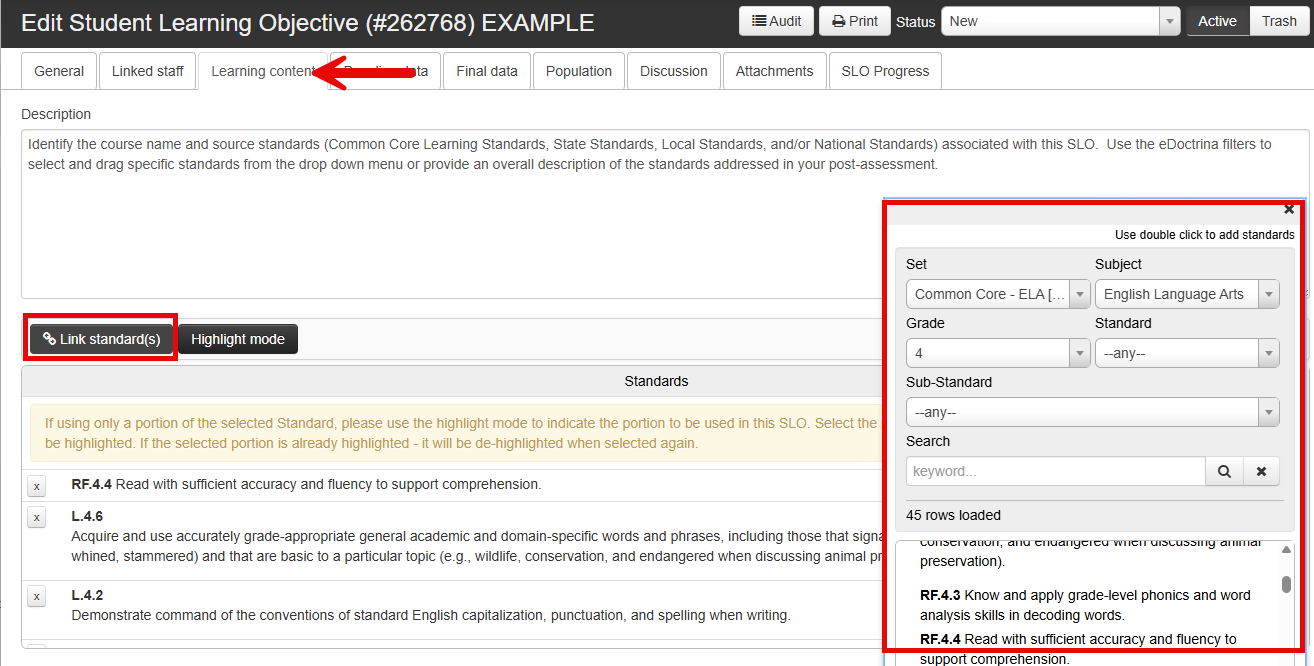
Click on the Learning Content tab, then click on the "Link Standard(s)" option to edit the desired standard(s)for this SLO. Double click on the standard in the pop up box to add it to the list on the left. If using only a portion of the selected standard, utilize the "Highlight" option
Baseline Assessments Section
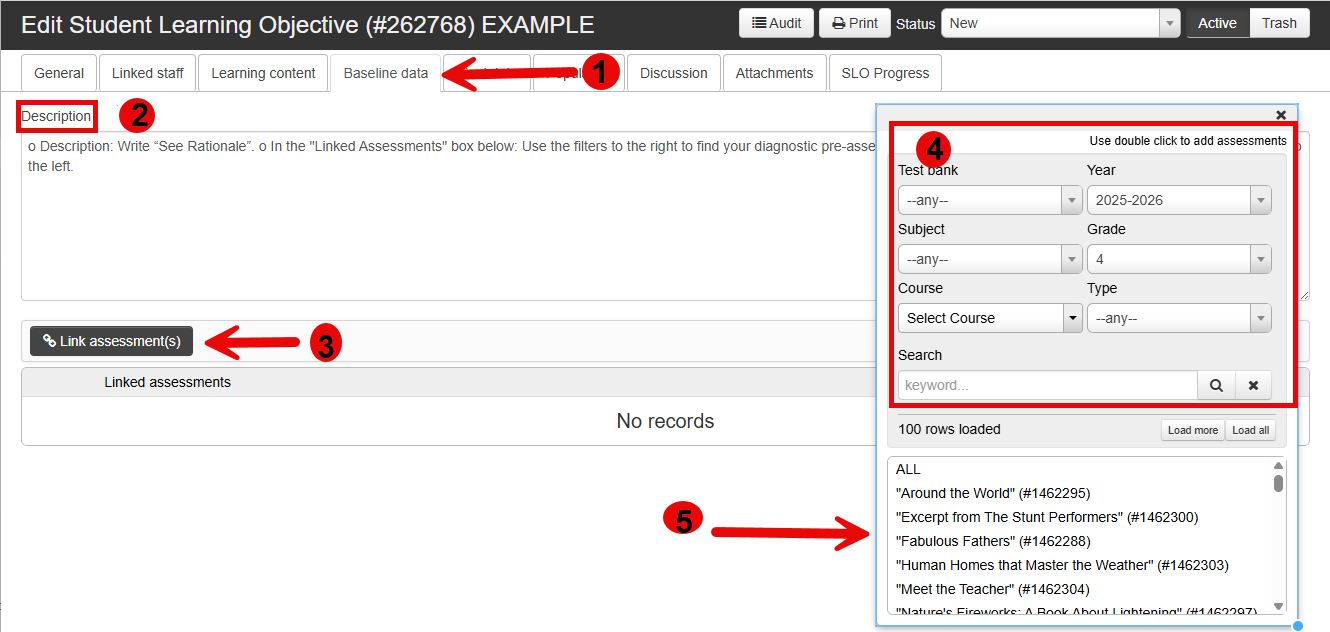
Click on the Baseline data tab, add a description in the box, then click on the "Link Assessment(s)" option to link a baseline assessment to a SLO. Use the filters in the pop up box to locate the desired assessment. Double click on the assessment to add it to the box on the left. If more than one assessment is linked eDoctrina will average the two scores to generate a baseline score.
A baseline assessment can be linked to a SLO prior to data being imported or scanned into the program. The data will automatically filter into the SLO once available.
Final Data (Evidence Assessment) Tab

To link an evidence assessment to a SLO, use the filters to find the assessment and drag and drop it into the Linked Assessments box on the left. If more than one assessment is linked eDoctrina will average the two scores to generate an evidence score. Even though the evidence assessment is likely a SECURE assessment, teachers WILL be able to filter for the secure assessment and link it . (It is important to know that teachers will NOT be able to locate this assessment to edit or view it in other sections of the program.)
An evidence assessment can be linked prior to data being imported or scanned into the program. The data will automatically filter into the SLO once available.
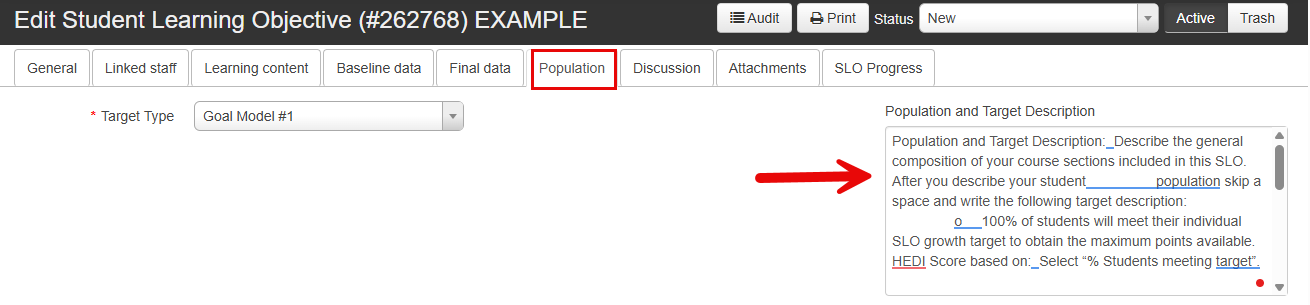
Population Section
Step 1: Complete the Population and Target Description information in the box provided.
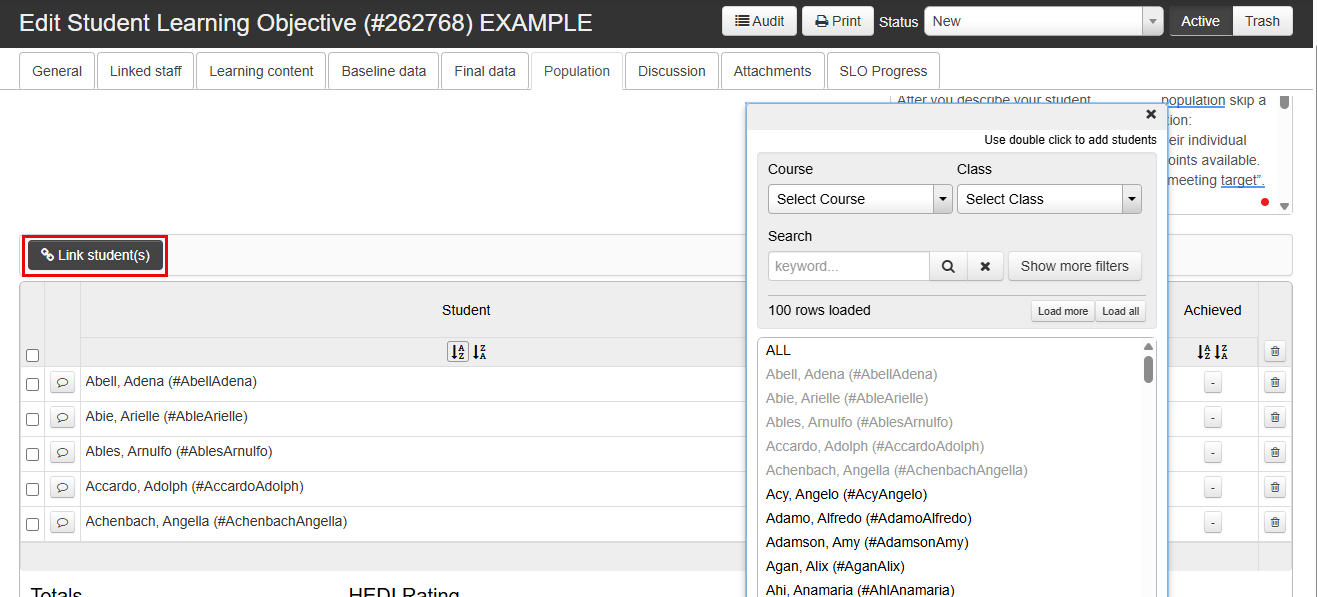
Step 2: Locate the students who need to be linked to this SLO. To link a whole section/class at once, choose the correct filters, click the ALL STUDENTS heading, individual students may be added in the same manner by double clicking on student name(s) to add them to the left side.
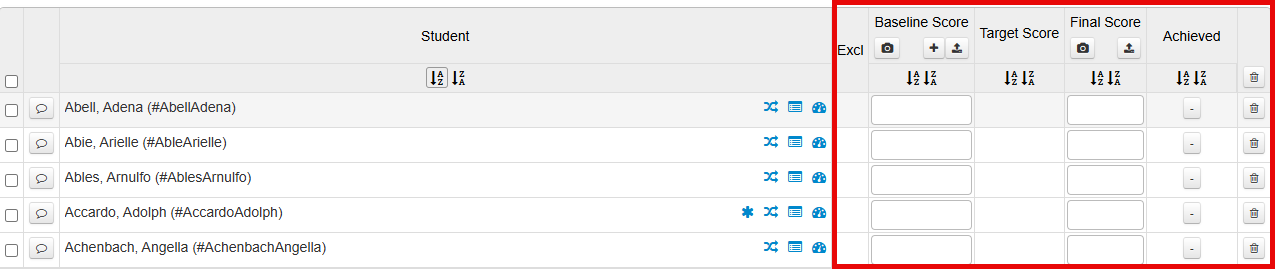
Step 3: Use the various filters located on the top of the Population section to set the target type, targets, bands, etc. based on your districts requirements/guidelines. Please reference help document SLO Target Setting Options.
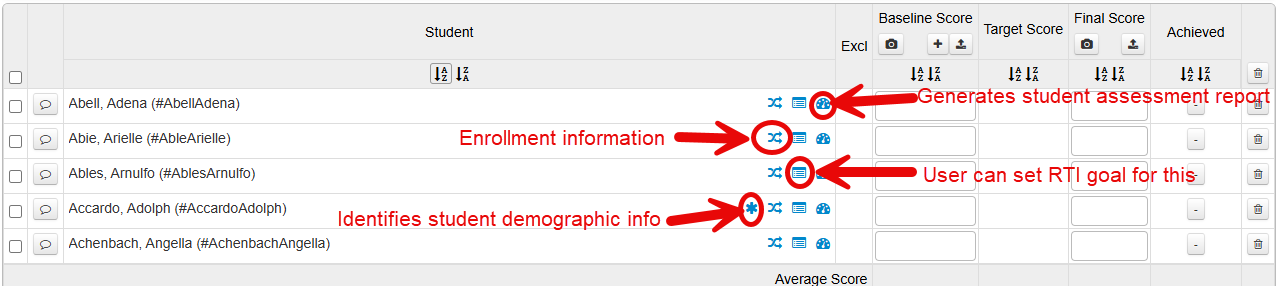
BUTTON EXPLANATIONS
HEDI Scoring Section
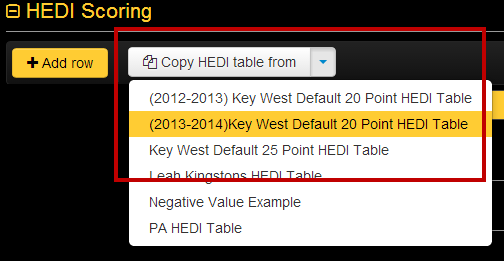
Each SLO must be linked to a HEDI Table in order for a final score to be given. The HEDI table must be set up by a district administrator. (Please reference document 30 for more information on how to set up a HEDI table.) A user can select the appropriate HEDI table from the "Copy HEDI table from" dropdown menu. This will automatically link the HEDI table to this SLO.
The HEDI table will automatically update to reflect the scoring information from the Population section . In the example above, the recommended HEDI score is 13/Effective and is highlighted in light green. To confirm this HEDI score, an administrator must click the Final button for the approved HEDI Score.
Discussion Section (optional)

This section is optional and is a great place to document feedback/comments about the SLO. This discussion board is available for both the teacher(s) and administrator(s) involved in creating/finalizing the SLO.
Attachments Section

This section is designed for storing any additional documents related to the SLO. Documents can be attached by both teachers and administrators. Note: There is a 20Mb limit to file size here
Changes Audit Section

This section documents any workflow state changes that were made to the SLO by all users.