 Save as PDF
03.E.2. Creating A Custom Proficiency Table
eDoctrina allows users the opportunity to create a customized Proficiency table. Through the use of this tool, users can create a customized report that color codes assessment results in order to provide a quick snap shot of student performance.
This learning module is broken into two sections. Section A pertains to All users and Section B pertains to District Administrators.
Section A: ALL Users
From the eDoctrina Home screen: 1. Click on Assessments pull-down. 2. Click Settings & Config. 3. Click Proficiency Table.

To create a new Proficiency Table simply click the "Create" button.

The "Create Proficiency conversion table" tab will appear. District Administrators can customize the result grades (which will be explained in Section B) but all users can customize the grade parameters and color code the document accordingly. To begin creation, simply provide a name for your Proficiency Table, then click on the "+ Insert" button to add a new Proficiency Conversion Table

Once the "+ Create" button is clicked a "Create Grade" pop up will appear in which you will be given a number of options that can help build the table.
- Min. Percent - Allows you to set the minimum score a user can receive to be in this range.
- Max. Percent - Allows you to set the maximum score a user can receive to be in this range.
- RTI Target - Allows you to set a specific RTI goal for an individual student that will show when running the RTI Progress Monitoring Report.
- Grade - Allows you to set the Proficiency level from a variety of options preloaded into eDoctrina (ex. HEDI, 1-4, etc.). Grades can be customized and added by a District Admin user, if need be. Multiple Grades can be set up if you would like to designate more than 1 grade to a score range, by simply completing Grade 2-5, as above. (Ex. if you wanted to show a result as 4, Highly Effective).
- Color - Allows you to designate a color to the score range.
- Font Style - Allows the font to be italic or bold.
- Save / Cancel - Allows you to save or cancel the changes you have made.
Note: when setting your Min. and Max. Percent, make sure the values overlap.
For example: if the first column's Max. Percent is 60 then the Min. Percent in column 2 should also be 60.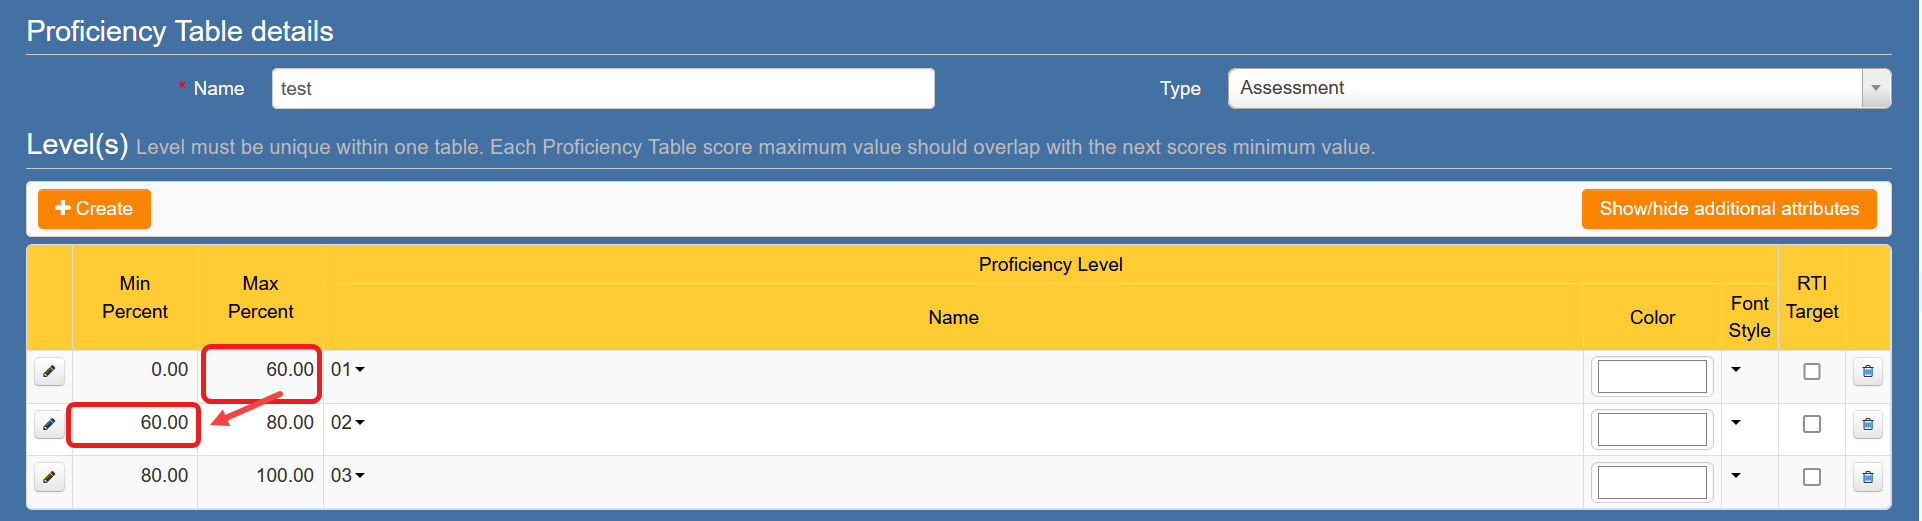
To add more columns, simply click the "Create" button again and repeat the process as above. Once you have all the data that you want click the "Save & Close" button.
Your Proficiency Level Table will now be added to the list.

Section B: District Administrators ONLY
As a District Administrator, you have the ability to customize the result levels, which are the available Proficiency levels to select in the Proficiency tables.
From the eDoctrina Home screen:
1. Click on Assessments.
2. Click Settings & Config.
3. Click Proficiency Levels.

District Administrators can choose which result levels are used in the eDoctrina. It is possible to choose existing result levels or create new ones by clicking on the "Create" button.

You will now get a pop-up window that allows you to create the result level. Type the name that you would like and then click on the "Save & Close" button.

The resulting levels that were entered will now be available for anyone that wants to create a Proficiency Table.