 Save as PDF
Adding Audio Files
(While there are other uses, this feature was designed for when students need test instructions read aloud when taking online assessments)
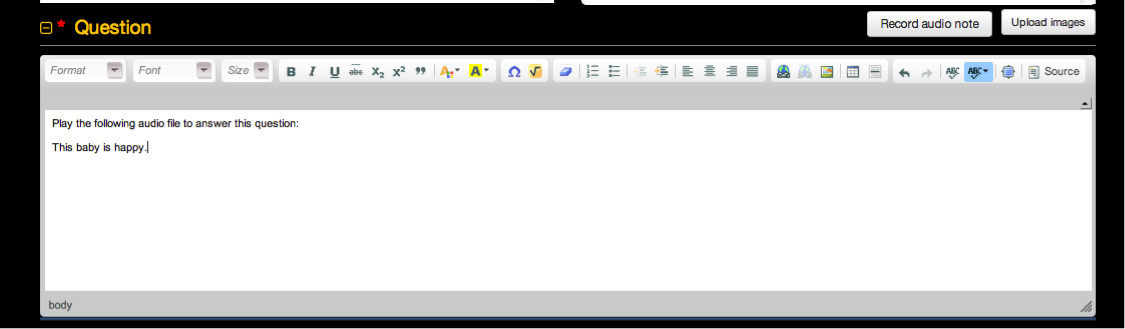
- After you have typed your question in the “Question” box (1a.), scroll down to the bottom of the window where you are able to click on the button: “Record audio note” (1b.) It may be helpful to put written directions directly in the question box as well.
1a
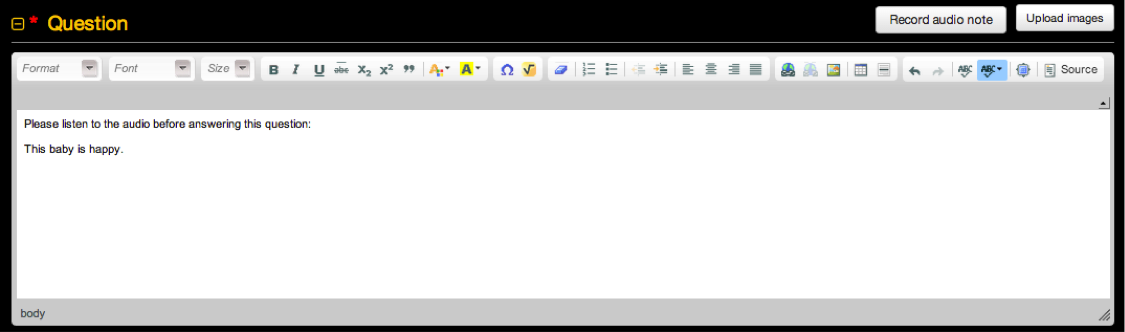
1b (This step is for when you are ready to add audio instructions for an online assessment question)

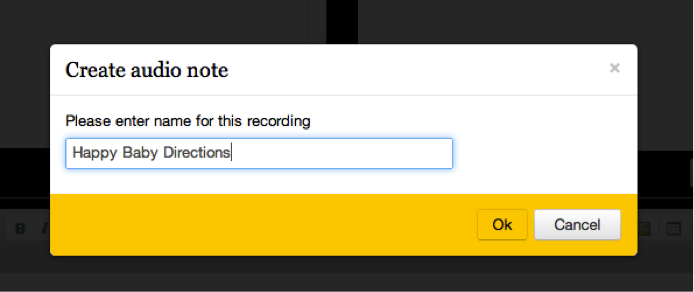
2.A new window will open, prompting you to name the recorded file:
3.Once the file is named and you click OK, the following screen will appear and you will need to begin speaking immediately. Please note there is no “Start” button.
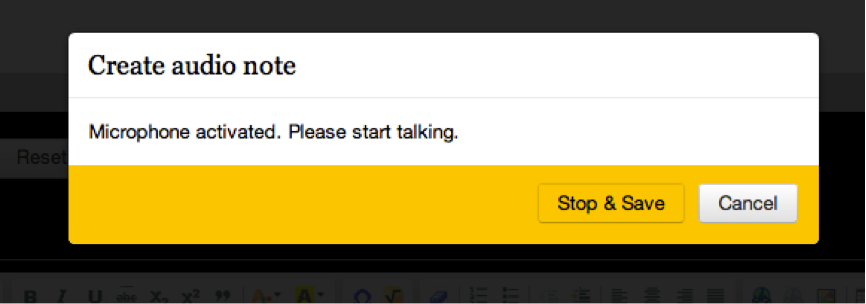
When you finish speaking, click “Stop & Save” – the file will automatically appear in the Attachments section at the bottom of the page.
4.From here, you will have the option to select who the audio instructions will be available for. Most likely, you will either choose “Everyone” or “Assigned Students Only.”

5.Finally, select how many times you would like this audio note to be available for a student to play. By clicking directly in the area under “Plays limit”, a blinking cursor will appear where you able to enter a number. Leaving “Plays limit” blank allows the audio note to be played an unlimited amount of times. If a number is entered, click the “Enter” key button on your keyboard to save the change.
6.If you are making these spoken question directions available to a group of students because you have chosen “Assigned Students Only,” you will need to go to the Teacher Dashboard to choose the specific students:

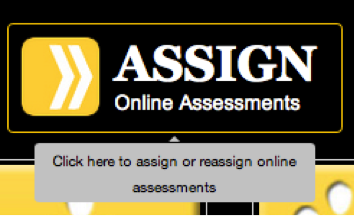
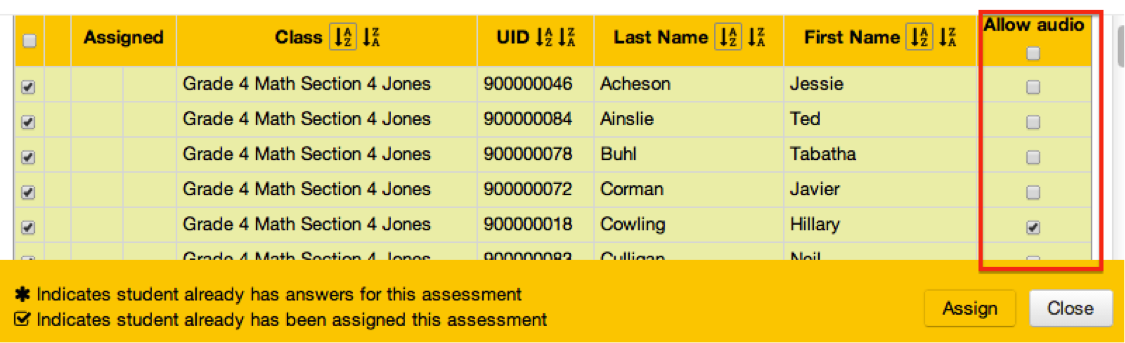
7.Use the filters to find both the students who are taking this online assessment, as well as the assessment itself, then click the “ASSIGN” button:
8.Once the class list appears, simply check the box directly to the right of the student’s name, under the “Allow audio” column. This controls which students will have access to the audio notes when they take the assessment online. Lastly, click the “Assign” button.
Uploading Audio Files Within A Question
- After you have typed your question in the “Question” box (1a.), scroll down to the bottom of window where you are able to click on the button: “Upload File” (1b.)
* 1a
* 1b

2.Once you select the audio file you would like to attach, it will appear under the “Attachments” tab. Feel free to preview your audio file using the play button that is available.

3.PLEASE leave the “Available to” option defaulted to Everyone. This is VERY Important!

4.Finally, select how many times you would like this audio file to be available to play. By clicking directly in the area under “Plays limit,” a blinking cursor will appear where you are able to enter a number. Leaving “Plays limit” blank allows audio file to be played unlimited amount of times. Once the number is entered, click the “Enter” button on your keyboard to save.

When you have finished editing your audio file, simply click Save & Close at the top right of your screen.